Introduction
The Forex market is one of the most dynamic and liquid financial markets in the world. For beginners, navigating its complexity can feel overwhelming. With countless indicators, strategies, and opinions available, it’s easy to get lost in technical noise. However, one of the most effective and straightforward approaches to understanding price movement is through supply and demand zones.
This concept focuses on the fundamental principle that drives all markets: imbalance between buyers and sellers. By learning how to identify these zones, traders can make smarter, more informed decisions without relying heavily on lagging indicators.
In this guide, you’ll learn what supply and demand zones are, how they work and how to use them effectively in your Forex trading strategy.
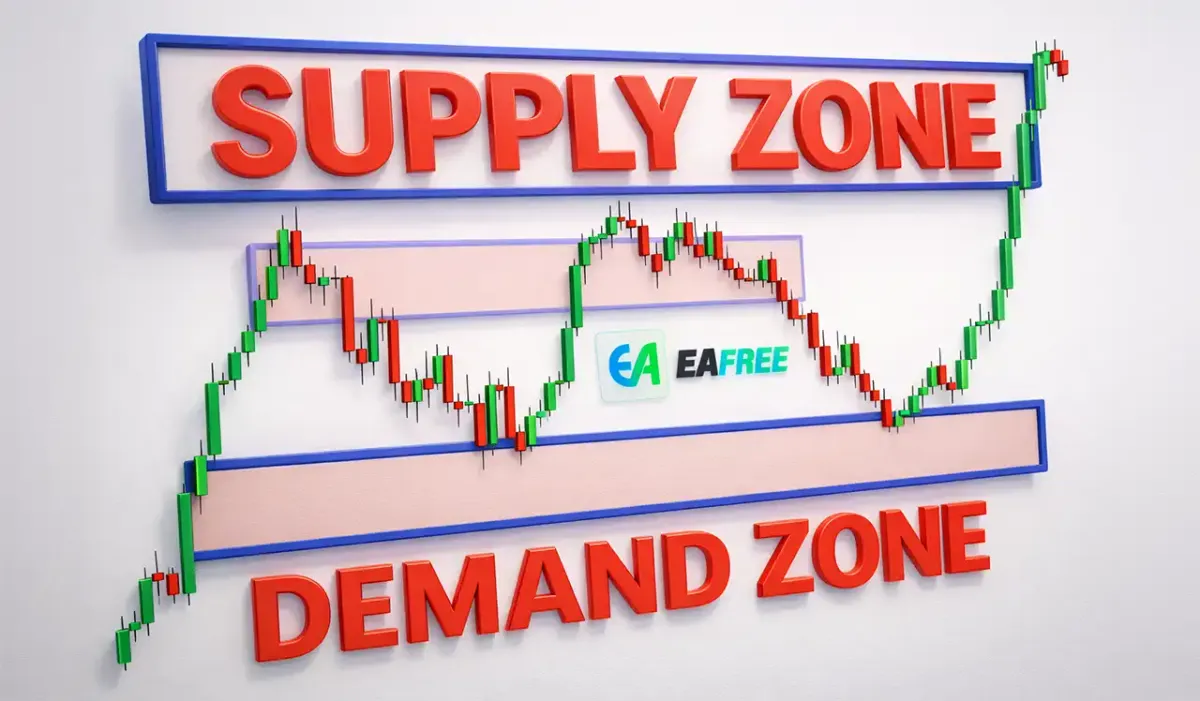
What Are Supply and Demand Zones?
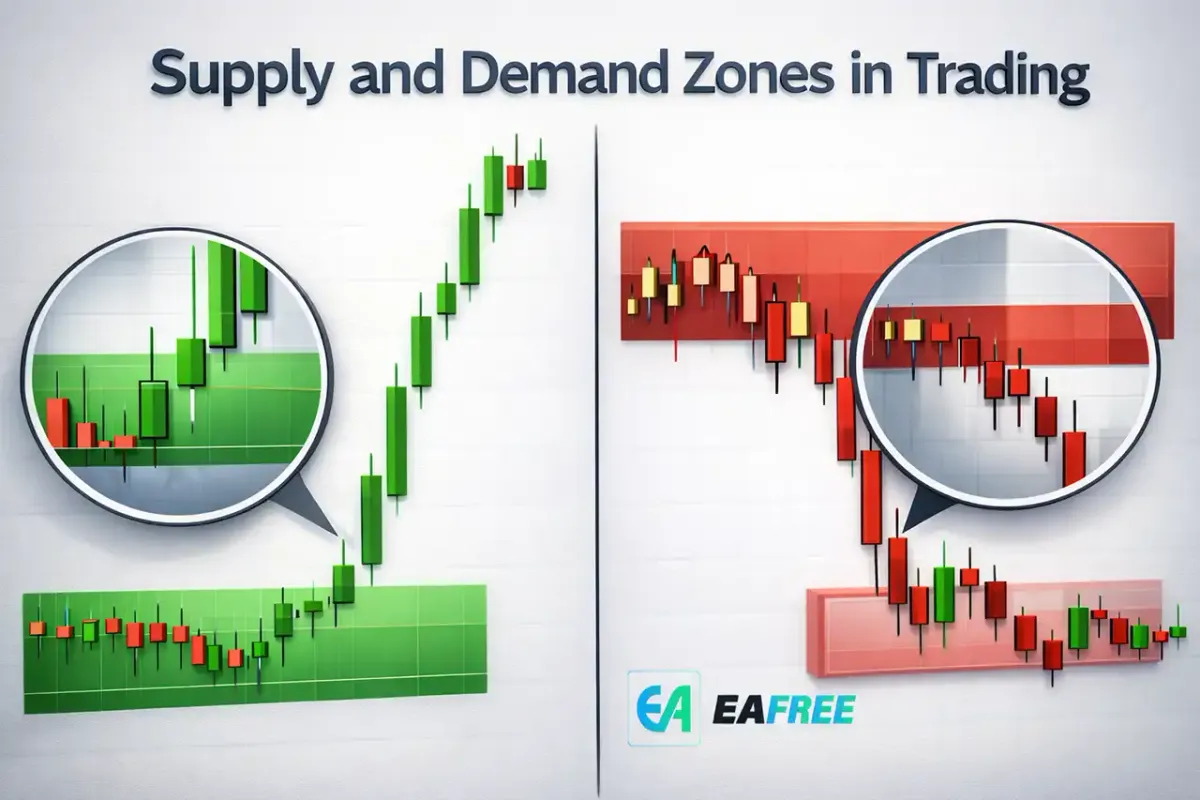
Supply and demand zones are areas on a price chart where strong buying or selling has previously occurred, causing price to move sharply.
- Supply Zone: An area where selling pressure exceeds buying pressure, causing price to drop.
- Demand Zone: An area where buying pressure exceeds selling pressure, causing price to rise.
These zones represent institutional activity—where large financial players (banks, hedge funds) enter the market. Unlike retail traders, these institutions move price significantly, leaving behind “footprints” on the chart.
Why Supply and Demand Zones Matter
Understanding supply and demand zones gives traders an edge because:
//1. They Reflect Real Market Behavior
Instead of relying on indicators that lag behind price, supply and demand zones are based on actual price action and order flow.
//2. High Probability Trade Entries
These zones often act as reversal points. When price returns to a strong zone, there is a higher probability of a reaction.
//3. Better Risk Management
Zones provide clear areas for stop-loss placement and entry, helping traders manage risk more effectively.
How to Identify Supply and Demand Zones
Identifying these zones requires practice, but the process becomes intuitive over time.
//Step 1: Look for Strong Price Movements
Focus on areas where price moved rapidly in one direction. These movements indicate imbalance.
- Sharp rally → Potential demand zone.
- Sharp drop → Potential supply zone.
//Step 2: Find the Base
Before a strong move, price often consolidates briefly. This consolidation area is called the base.
//Step 3: Mark the Zone
- For demand: mark the lowest part of the base before the rally.
- For supply: mark the highest part of the base before the drop.
//Step 4: Wait for Price to Return
The best trades occur when price revisits these zones for the first or second time.
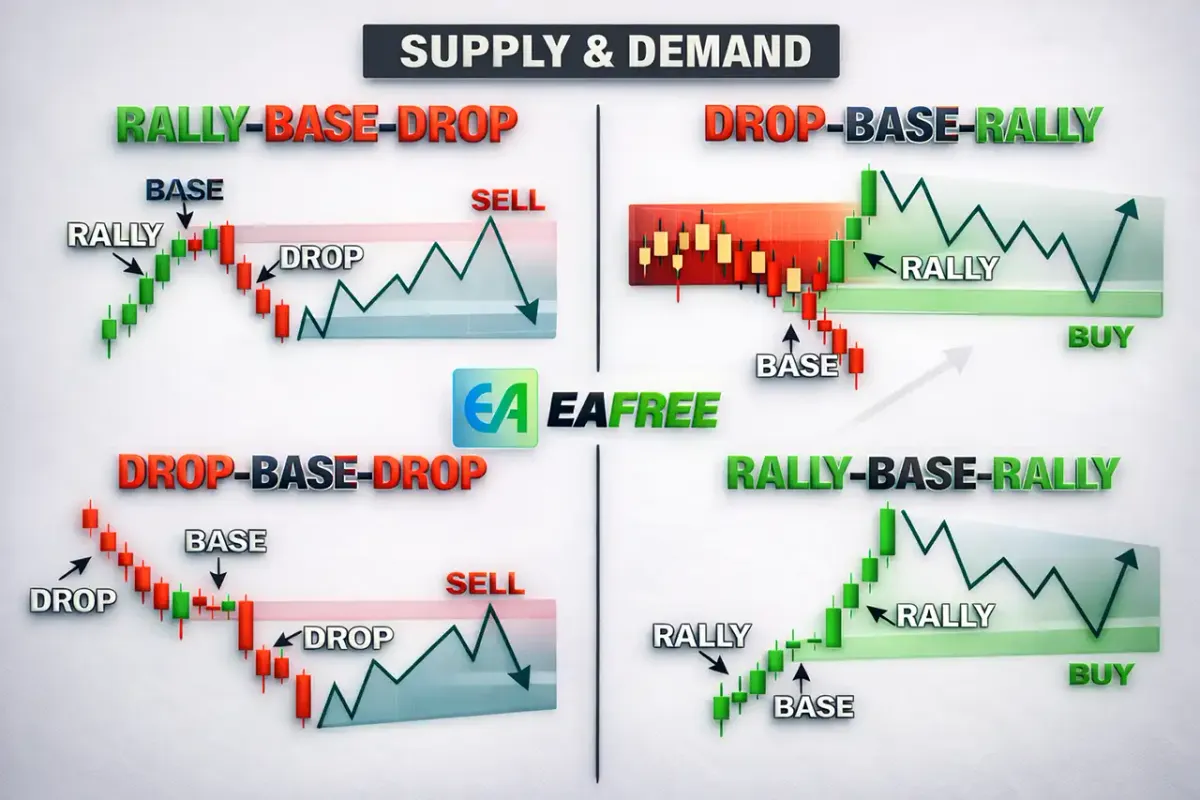
Types of Supply and Demand Patterns
Understanding common patterns helps refine your analysis.
//1. Rally-Base-Rally (RBR)
- Indicates strong demand.
- Continuation pattern.
//2. Drop-Base-Drop (DBD)
- Indicates strong supply.
- Continuation pattern.
//3. Rally-Base-Drop (RBD)
- Indicates reversal from demand to supply.
//4. Drop-Base-Rally (DBR)
- Indicates reversal from supply to demand.
Key Characteristics of Strong Zones
Not all zones are equal. Here’s what makes a zone reliable:
//1. Strong Departure
The sharper the move away from the zone, the stronger it is.
//2. Freshness
Zones that haven’t been tested multiple times are more reliable.
//3. Time Spent in Base
Shorter consolidation usually indicates stronger imbalance.
//4. Higher Timeframe Confluence
Zones on higher timeframes (H4, Daily) carry more weight than lower ones.
How to Trade Supply and Demand Zones
Once you’ve identified zones, the next step is execution.
//Entry Strategies
- Limit Orders
Place a buy/sell order directly at the zone.
- Pros: Best price.
- Cons: Higher risk if zone fails.
- Confirmation Entry
Wait for price action signals (e.g., engulfing candles, pin bars).
- Pros: Safer.
- Cons: May miss some trades.
Stop Loss and Take Profit Placement
//Stop Loss
- For demand zones: below the zone.
- For supply zones: above the zone.
//Take Profit
- Previous highs/lows.
- Opposing supply/demand zones.
Risk-to-reward ratio should ideally be at least 1:2.
Common Mistakes to Avoid
//1. Overtrading Zones
Not every zone is worth trading. Focus on high-quality setups.
//2. Ignoring Market Context
Always consider the overall trend. Trading against strong trends reduces probability.
//3. Entering Late
Chasing price after it leaves the zone defeats the purpose of this strategy.
//4. Not Using Stop Loss
Even the best zones can fail. Risk management is essential.
Combining Supply and Demand with Other Tools
While supply and demand can be used alone, combining it with other tools enhances accuracy.
//1. Trend Analysis
Trade demand zones in uptrends and supply zones in downtrends.
//2. Support and Resistance
These often overlap with supply and demand zones.
//3. Fibonacci Retracement
Look for confluence between zones and key Fibonacci levels.
//4. Candlestick Patterns
Use price action signals for confirmation.
Practical Example
Imagine EUR/USD is in an uptrend. Price pulls back to a previously identified demand zone on the H4 chart. You observe a bullish engulfing candle forming at the zone.
- Entry: At the close of the engulfing candle.
- Stop Loss: Below the demand zone.
- Take Profit: Previous high.
This setup aligns with trend, structure and price action—making it a high-probability trade.
Advantages of Supply and Demand Trading
- Works across all timeframes.
- Applicable to all currency pairs.
- Based on pure price action.
- Helps identify institutional activity.
Limitations to Consider
- Requires practice and screen time.
- Subjective interpretation.
- Not always precise (zones, not exact lines).
Final Thoughts
Supply and demand trading is one of the most powerful and beginner-friendly strategies in Forex. It simplifies market analysis by focusing on what truly drives price: the imbalance between buyers and sellers.
By mastering this approach, you can improve your entry timing, reduce reliance on indicators, and develop a deeper understanding of market dynamics.
However, like any trading method, success comes from consistent practice, disciplined risk management and continuous learning.